


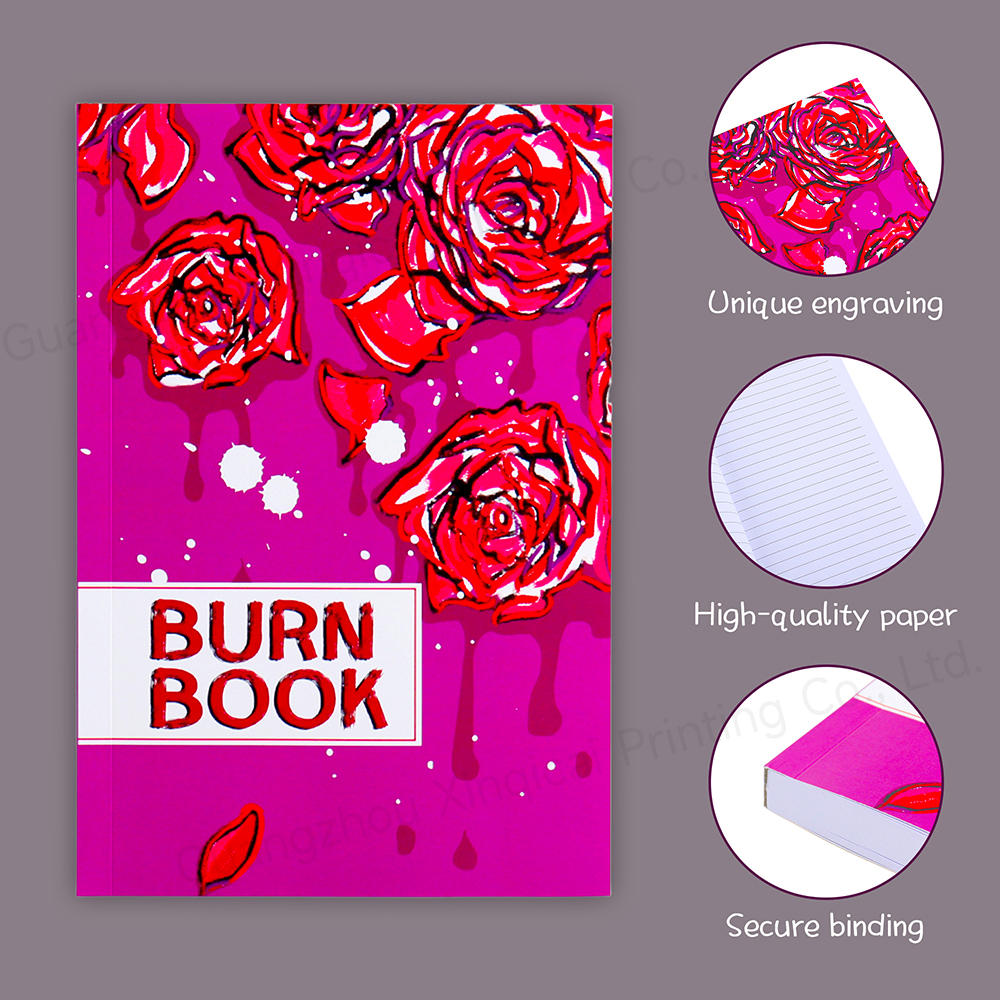
Products Description
1. Material Preparation
Select cardboard or MDF of appropriate thickness and size as the base for the book block. Gather various binding papers (such as imitation leather, linen-textured paper, and art cardstock), printing inks (for the title and decorative designs), glue (strong paper glue), cutting tools (utility knife, paper trimmer), hot stamping equipment and supplies (if metallic decoration is desired), and binding accessories (such as simulated spine strips).
2. Book Cover Production
Pattern Design: Based on the book block's dimensions, cut the front and back cover, as well as the spine, from cardboard, leaving a folded edge to wrap around the book block.
Paper Attachment: Select decorative paper and evenly apply glue to the cardboard pattern. Apply and smooth accurately to eliminate air bubbles and wrinkles, creating a smooth cover surface.
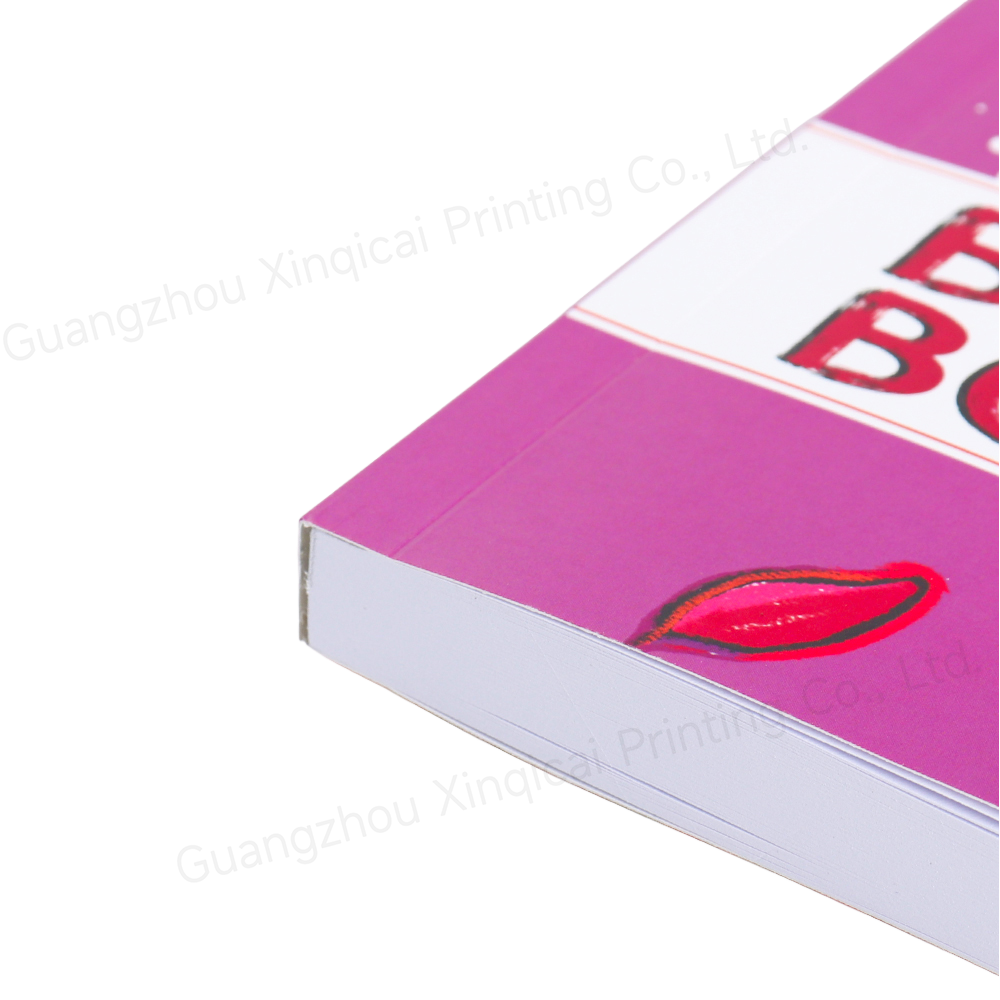
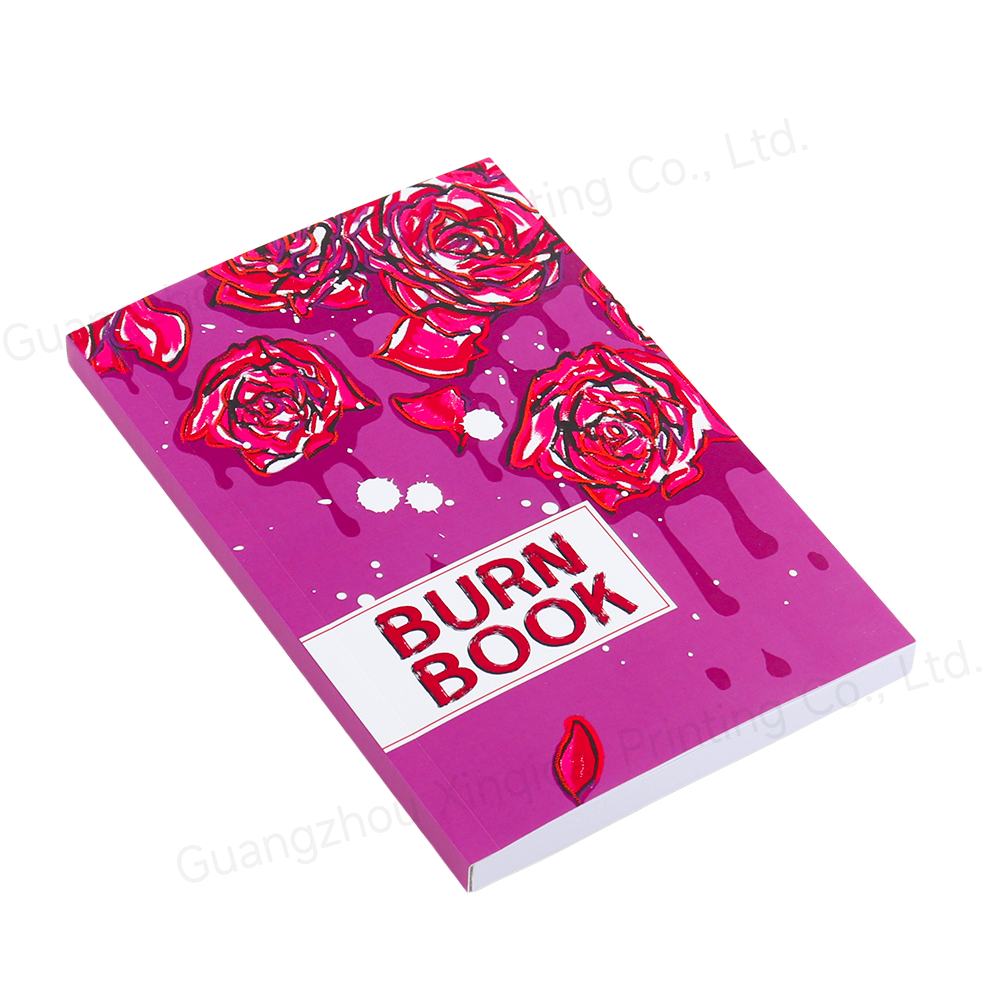
Decorative Printing: Use screen printing or digital printing to apply the title, design, and text to the corresponding areas of the book cover. If hot stamping is desired, adjust the hot stamping plate, set the temperature and pressure, and create a metallic finish.
3. Book Block Preparation
Cut the cardboard/MDF board to the size of a book page. Stack multiple pieces to simulate the thickness of a book page. Secure them with glue or a binding machine to ensure the "pages" are neat, secure, and fit the book cover.
4. Overall Assembly
Apply glue to the sides of the book block, insert it into the folded edge of the book cover, align the edges, and press firmly to ensure a tight fit between the book cover and the book block. Inspect the appearance and trim any rough edges and excess glue to create a refined look.
5. Finishing Details
Add a simulated bookmark (optional) and distressed effects (such as lightly brushing paint on the edges to simulate wear) to enhance the vintage or artistic feel. The final result is a creatively designed book cover that is both beautiful and decorative, suitable for various display spaces.